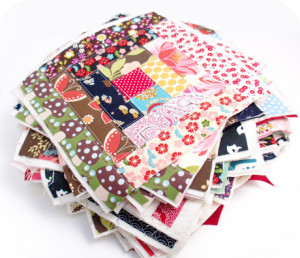
Lots of quilter’s prefer the quilt-as-you-go method because it is thought of as an easier system of quilting by simply attaching piece after piece of finished individual blocks to the next finished individual block creating the quilt as a whole piece over time. Remember the only thing that is different with this method is that the batting and backing is already put together with the blocks before attaching the blocks together.
You can try the log cabin quilt for your pattern when first trying the quilt-as-you-go method. By choosing the log cabin quilt pattern for this method it allows the sashing to blend in more with the top appearing as a soft subtle frame for the blocks. The log cabin pattern is perfect for quilting as you go because it makes it easy for you to attach fabric piece by piece because of the long cut strips of fabric that you are using.
Here are some guidelines and tips to help you as you complete this pattern while using the quilt-as-you-go method.
- When creating the log cabin pattern start in the middle center of the block. Once you have layered the backing and the backing together take your first square or rectangle piece of fabric and pin it in the middle of the block to use it as your focal point. Then start adding the strips of fabrics around the square in the middle working your way out using pins as you please to keep everything in place.
- Once you have finished the log cabin pattern for the block make sure you smooth everything out as you go so there aren’t any wrinkles once you are finished.
- After you have completed all the blocks and have trimmed them down to the same size you can start attaching them together.
- When your blocks of the log cabin are finished you can now start putting them together, sometimes referred to as “sashing”.
- The front piece of sashing will be 1″ wide x the height of the block. This piece of sashing is placed right sides together along the one side edge of that block.
- The backside piece of sashing will be 1.75″ wide x the height of the block. This backside piece is then folded in half with the wrong sides together along the length and then pressed.
- Make sure that on the back of the block the folded back sashing is placed with the raw edges of the sashing matching the raw edges of the block. Always make sure the raw edges meet.
- Sew the sashing pieces in the block using a 1/4″ seam allowance. Then add the adjoining blocks together. The front sashing piece is opened and is now facing away from the first block with the raw edge matched to the side of now the second block that you have. Sew the second block to the front sashing using again a 1/4″ seam allowance. Now you have connected to blocks together!
- Turn to the back of the block. Notice the sashing piece is pulled over in the middle to cover the back seaming. Now you can fold the sashing back over the seam and stitch in place by hand or by using your machine.
Make sure to share with us your favorite tips and tricks that you like to use when quilting on Quilter’s Thread Mobile App.
Live Well. Quilt Well.

